DIY Outdoor Sink Installation Made Easy | Step-by-Step Plumbing & Drainage Tips for Beginners
Installing an outdoor sink is one of the most practical and rewarding home improvement projects you can do. Whether you’re setting up an outdoor kitchen, garden workstation, or patio wash area, a DIY outdoor sink installation adds convenience, cleanliness, and value to your home.
In this detailed guide, we’ll walk you through how to install an outdoor sink from selecting the right materials and tools to connecting outdoor sink plumbing lines and setting up proper drainage. Even if you’re new to plumbing, these beginner-friendly outdoor sink installation steps will help you create a functional and stylish outdoor space in just a few hours.
A well-installed outdoor sink can completely transform your backyard or patio. It makes cooking, gardening, and cleaning up so much easier no more running back and forth to your indoor kitchen!
Convenience: Perfect for washing hands, prepping food, or rinsing tools outside.
Cleanliness: Keeps dirt and mess out of your indoor kitchen.
Value: Enhances outdoor living spaces and boosts home appeal.
Functionality: Ideal addition to an outdoor kitchen or BBQ area.
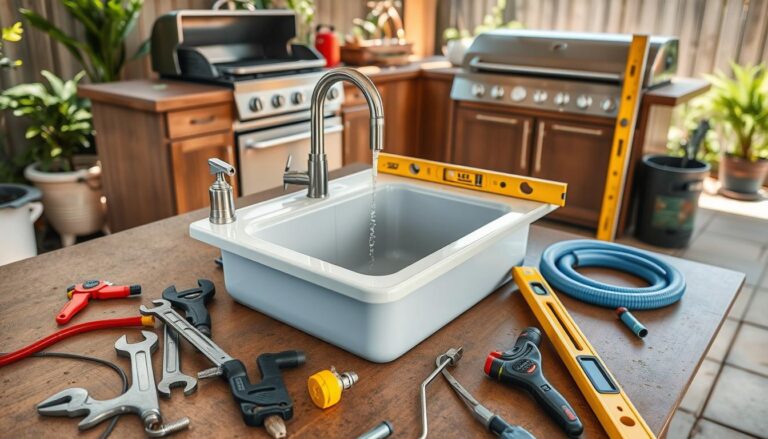
Tools and Materials You’ll Need
Before starting your DIY outdoor sink installation, make sure you have everything ready. Having the right tools will save time and help you avoid costly mistakes.
Essential Tools:
Adjustable wrench
Pipe cutter or hacksaw
Drill with hole saw attachment
Level
Pliers
Tape measure
Materials:
Outdoor-rated sink (stainless steel or granite composite recommended)
PVC pipes and fittings
Water supply line and shut-off valves
P-trap and drain assembly
Silicone sealant
Mounting brackets or frame support
Step 1: Choose the Perfect Sink Location
Choosing the right location is the foundation of a smooth outdoor sink installation. Ideally, place your sink close to an existing water source like a garden hose connection or outdoor faucet—to simplify plumbing.
Pro Tip: Avoid low areas where water tends to collect. Choose a flat, sturdy surface with access to both water and drainage.
Step 2: Prepare the Installation Area
Clear the area of debris, plants, or uneven surfaces. Use a level to ensure the surface is flat and stable.
If you’re mounting your sink on a countertop or frame, measure carefully and mark where the sink and plumbing will go. A stable and level base is essential for both function and appearance.
Step 3: Build the Support Structure
A solid base ensures your outdoor sink remains sturdy and weather-resistant. Depending on your setup, you can build a wooden or metal frame or install the sink in a stone countertop.
Use treated lumber or rust-resistant metal.
Ensure the surface is perfectly level.
Apply waterproof sealant to protect from moisture.
A properly built structure enhances the durability and visual appeal of your outdoor kitchen sink.
Step 4: Install the Water Supply Line
Connecting the water supply line is the most technical part of a DIY outdoor sink installation but with patience, you can handle it easily.
Connect your outdoor sink to a nearby hose bib or main water line using a T-connector.
Attach the shut-off valves to control water flow.
Secure the lines tightly using plumber’s tape to prevent leaks.
Test the line for pressure and leaks before proceeding.
If your outdoor sink has both hot and cold water, you’ll need to extend hot water lines from your home or use a portable heater system.
Step 5: Set Up the Drain System
An effective outdoor sink drainage system ensures water flows away smoothly and doesn’t cause puddles or plumbing issues.
Direct Drainage: Connect the sink drain to your main sewer line.
Indirect Drainage: Let water drain into a gravel bed or garden area for irrigation.
Install the sink drain and attach the P-trap.
Use PVC piping to direct water flow to your chosen drainage point.
Maintain a slight downward slope (1/4 inch per foot) for proper drainage.
Seal joints with PVC cement for a leak-free finish.
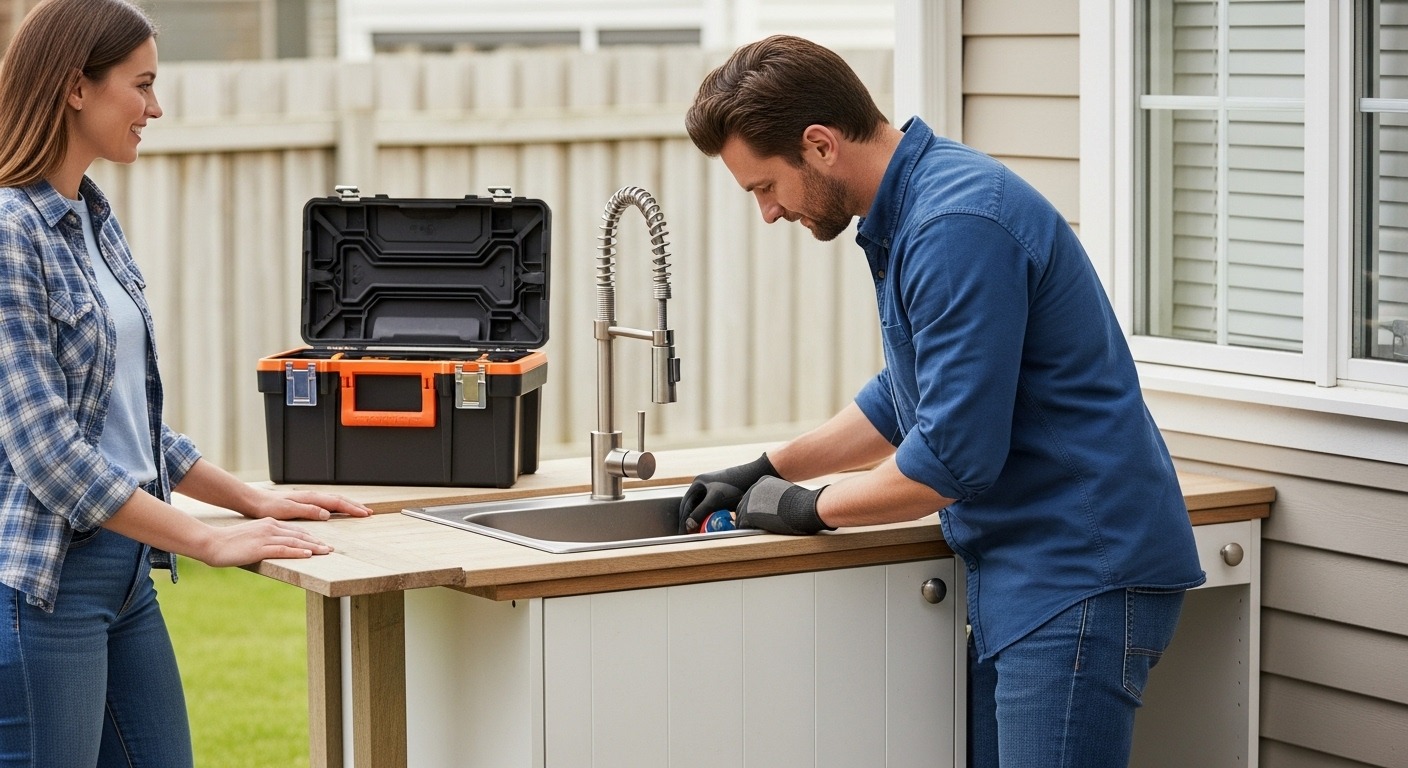
Step 6: Mount the Sink and Connect the Faucet
Now comes the exciting part mounting your outdoor sink and attaching the faucet.
Place the sink into the countertop or frame and secure it using brackets or screws.
Apply silicone sealant around the edges to prevent leaks.
Attach the faucet to the sink according to the manufacturer’s guide.
Connect the faucet’s water lines to your supply system and tighten all fittings.
Once everything is secure, double-check that the sink sits evenly and the faucet is stable.
Step 7: Test the System
Turn on the water supply and check for leaks around all joints and connections. Run water through the faucet and observe the drain flow to ensure proper operation.
If everything works correctly, congratulations you’ve successfully completed your DIY outdoor sink installation!
Weatherproofing and Maintenance Tips
Apply a waterproof sealant to all joints and connections.
Use rust-resistant materials like stainless steel or brass.
During winter, drain all water lines to prevent freezing and damage.
Maintenance Routine:
Clean the sink weekly with mild soap and water.
Check connections monthly for leaks.
Remove debris from the drain regularly to prevent clogs.
Common Outdoor Sink Installation Mistakes to Avoid
Ignoring slope requirements in drainage.
Using indoor-rated materials outdoors.
Skipping waterproof sealant around joints.
Not testing for leaks before final installation.
Avoiding these mistakes ensures your sink performs perfectly for years.
Safety and Local Plumbing Codes
Before starting any DIY plumbing project, always check your local plumbing and building codes. Some areas require permits for outdoor water lines or drainage systems.
If in doubt, consult a licensed plumber to inspect your setup for compliance and safety. It’s always better to be safe than sorry especially when dealing with outdoor plumbing.
Final Thoughts
A DIY outdoor sink installation is a simple yet impactful project that adds style, function, and convenience to your home. By following these step-by-step plumbing and drainage tips for beginners, you can create a beautiful outdoor utility space without spending a fortune on professional help.
Whether it’s for gardening, outdoor cooking, or washing up, an outdoor sink makes life easier and your backyard more enjoyable.
Start your project today, and turn your patio or garden into the ultimate outdoor kitchen space!

 Visit For More Info On Step-by-Step Plumbing & Drainage Tips for Beginners